The good
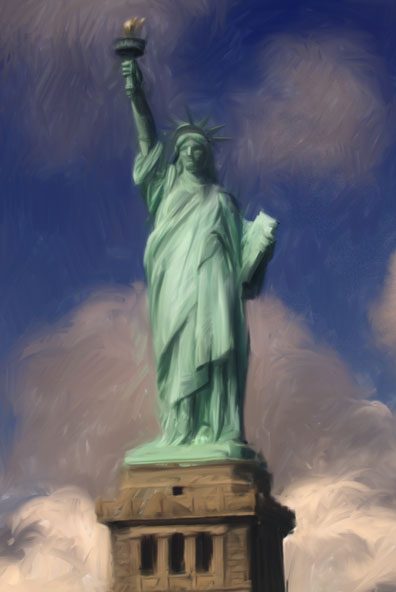
"Give me your tired, your poor,
Your huddled masses yearning to breathe
free,
The wretched refuse of your teeming shore.
Send these, homeless, tempest-tost to me,
I lift my lamp beside the golden door!"
The bad
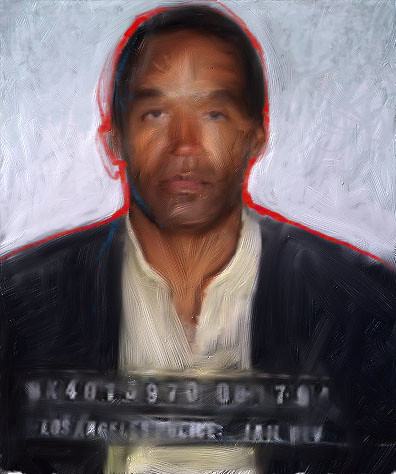
Free, but
why?
The ugly
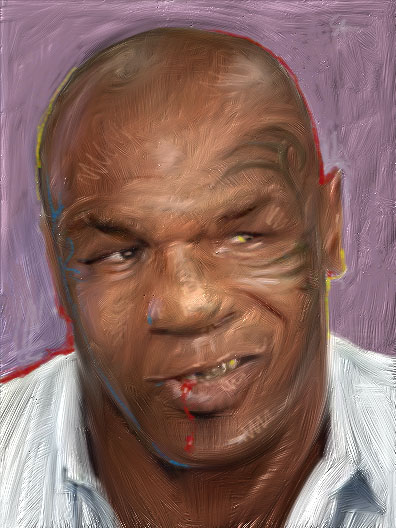
Free (for the moment)